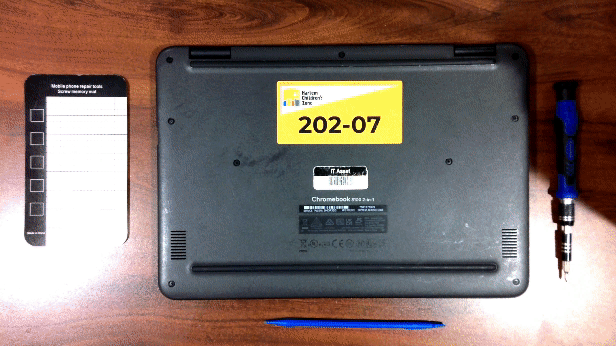
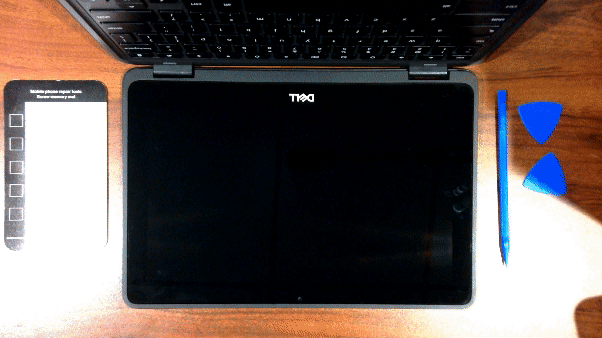
How to Replace a Display on a Chromebook
Check Warranty Eligibility:
Before you start a Chromebook repair or replacement process, you must confirm the warranty type and coverage for the device! Access below URLs to learn more:
Caution!
- Avoid puncturing, crushing, dropping, mutilating, or penetrating the battery with foreign objects.
- Refrain from using tools to pry or apply pressure to the battery.
- If a battery becomes stuck due to swelling, do not attempt to free it as punching, bending, or crushing a Lithium-ion battery can pose serious risks.
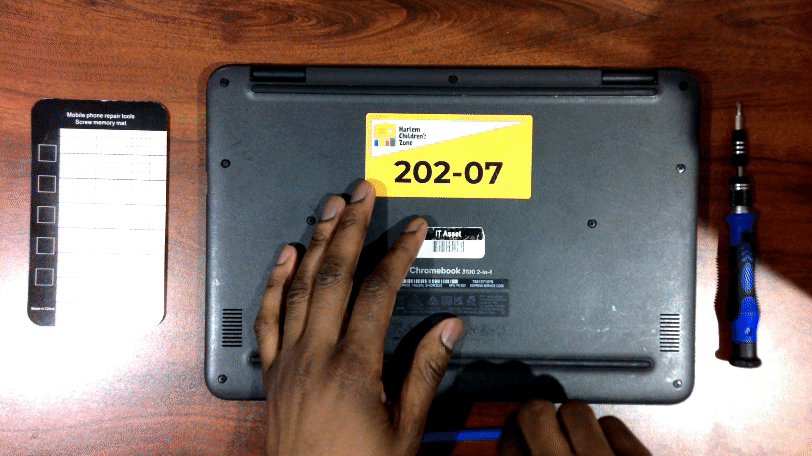
- Using a Philips #1 screwdriver, remove all nine 5mm screws securing the back cover
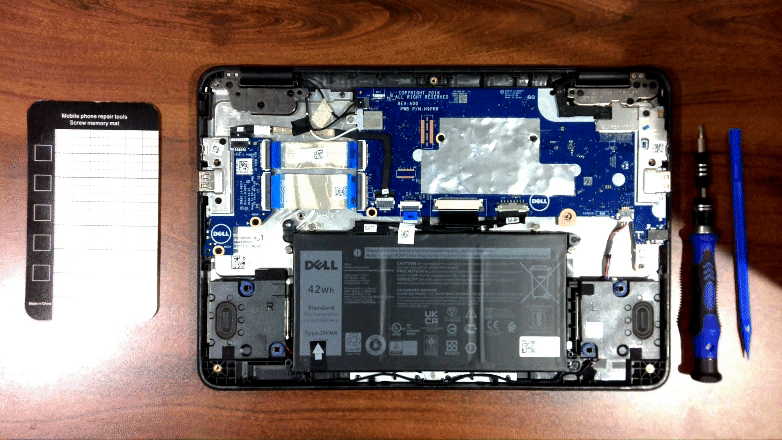
- Gently pry the back cover off the device using an opening tool
- Disconnect the battery cable from its connector on the system or main logic board
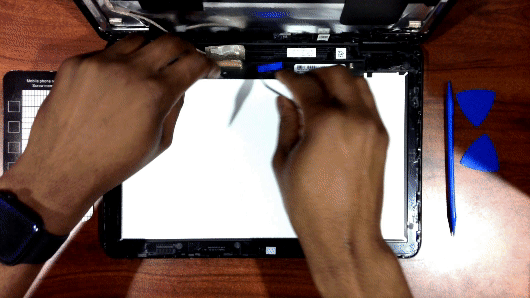
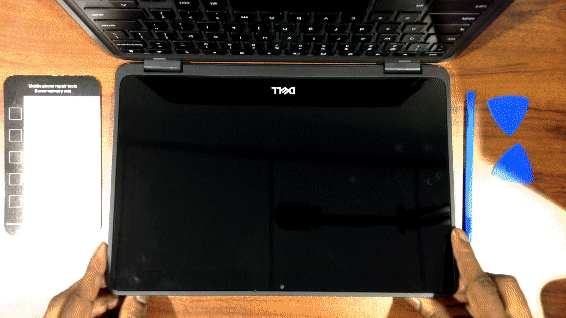
- Flip the device over and use an opening tool to open the display panel starting from the pry points
(Work your way around, through the left and right side of the panel)
- Next, lift the display panel and peel back the adhesive tape securing the display cable
- Finally, lift the latch securing the display cable and carefully pull back to release display connector